Quick delivery MB models (www.rccarshop.co.uk) and a nice looking box was set on my desk.

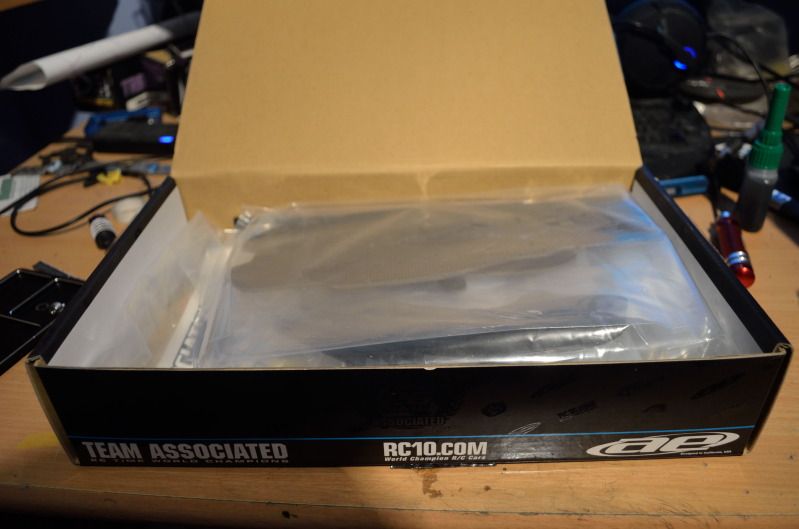

Lots of nice shiney parts and nice clear manual. Quick sort through the parts and a toilet break it was time to get sorted (must say apologies to the wife, we were off work this week and I spent a full day doing this).
First up was the shock. Now I have previously owned a RC12R5.1 and I hated the shocks on these cars. Unfortunately I they haven't really changed so I still hate them, took me a few attempted to get a smooth bubble free action (not a great start hey!)


Next up it was turnbuckles and damper, both nice quality

Then it was time for carbon fibre prepping!

A lot of good quality carbon, very nicely machined. I sealed the edged with CA of the main chassis and pod plate, took long enough to do those so didn't fancy the rest!
The RC10R5.1 incorporates chassis rails to help keep the chassis stiff. Smart looking with special nuts that sink into the carbon to secure them.


Next was the pivot and side link to attach the pod to the chassis, I always like this part of a build start to look like a chassis no if you know what I mean. The side links were a bit stiff on the pivot balls so I spread the ends slightly just free them up a bit. Hopefully they will loosen more after use


Added the rear pod side plates and rear brace as well as chassis rails. They are held off the chassis with 2mm spacers.

Next was adding the side plates which hold the side springs, body posts and damper tube mounts. Threading the side spring set screw through the carbon can be a bit of a pain to get clean and straight. Handily, associated have included a large side spring retainer which you can adjust with your thumb. So I used that as a flat edge to be able to screw the set screw in straight.


Whilst I was happy as larry doing this I think my dog was very bored!

Front suspension time now. Associated have put together a solid front end, some of the parts occasionally need a bit of work to get them even side to side.

The car axles are pretty simple, only one ackerman position on the arm and they are trailing axles. I set my CRC up with in line axles and more ackerman for more sharper steering. I will be looking at the inline axles in the future.


Got them mounted to the front end of the chassis, starting to look like a car now!


No comments:
Post a Comment